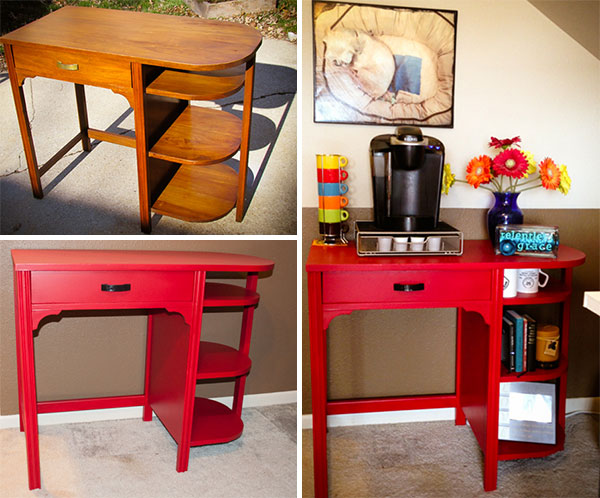
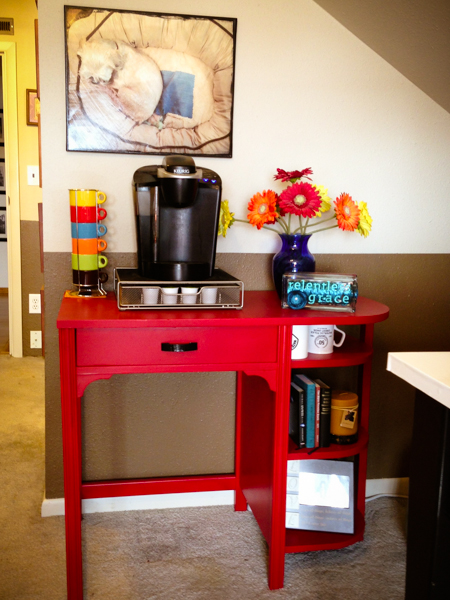
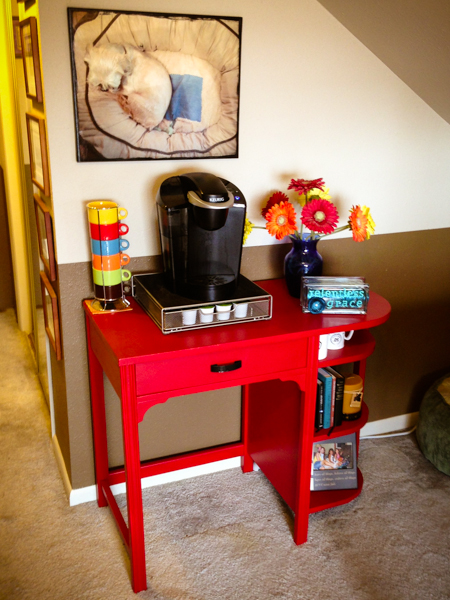
My husband actually suggested this project after finding this old writing desk on Craig's List. He thought it would make a nice coffee bar for my office. Up until this time, I was using an old (small and wobbly) end table, not very functional. So we purchased it and painted it... it turned out awesome! Now it is one of my favorite pieces!
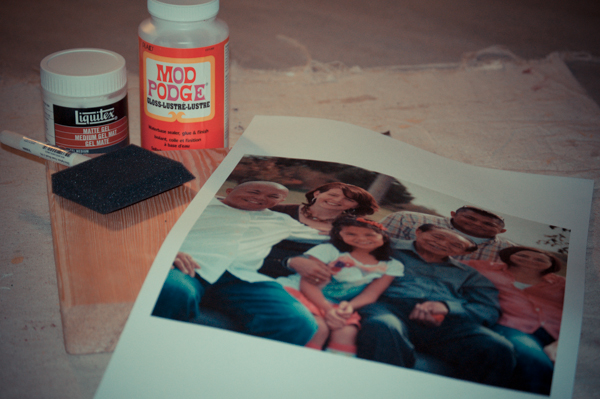
What You'll Need:
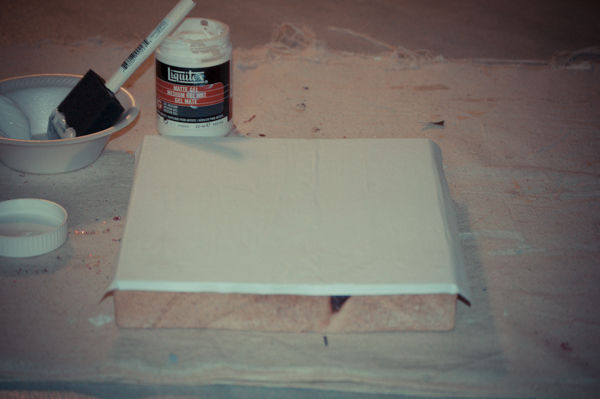
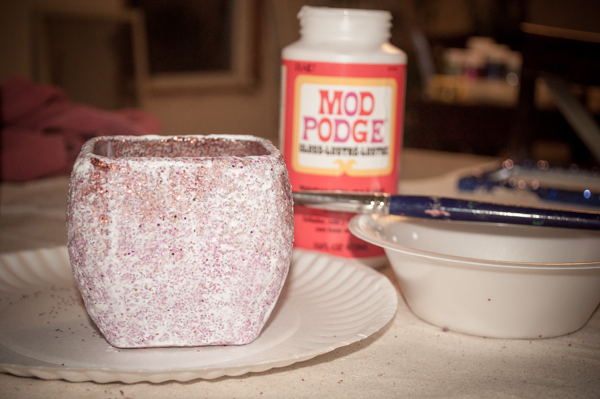
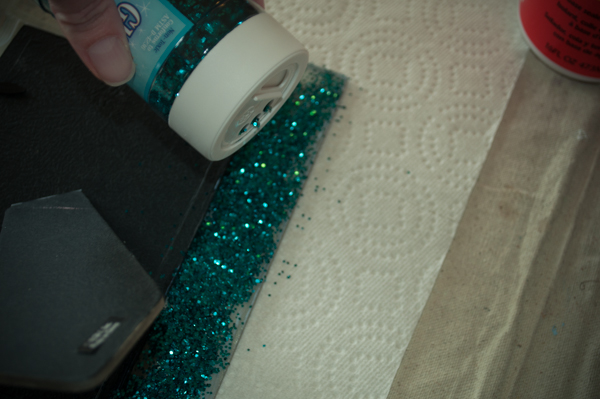
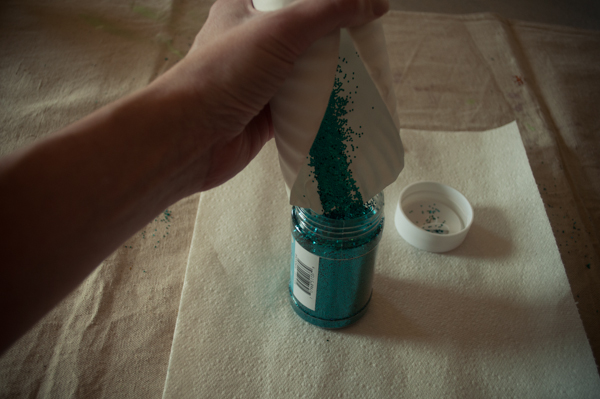
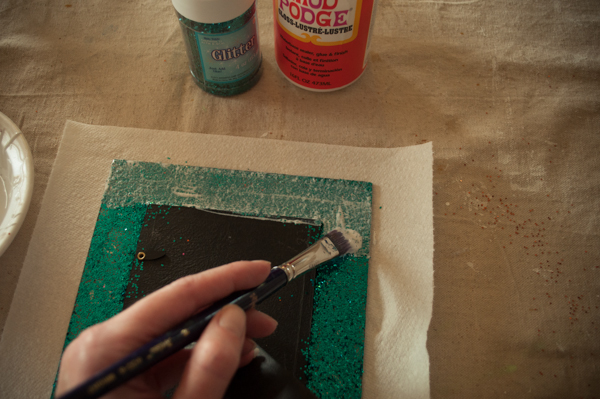
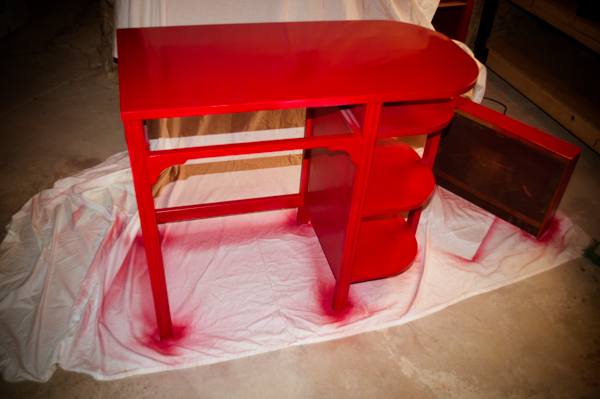
Below are pictures of the entire process!


What You'll Need:
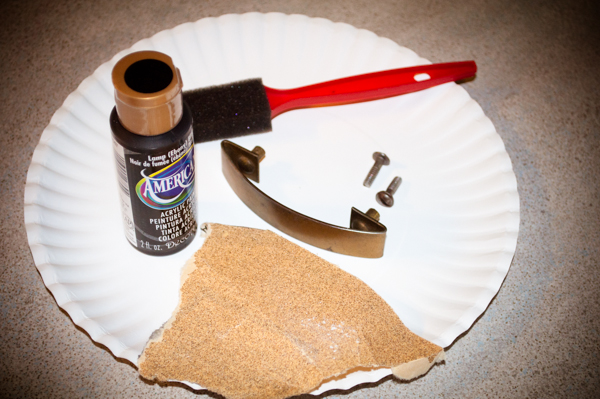
- Desk or furniture to refinish
- Sandpaper
- Primer
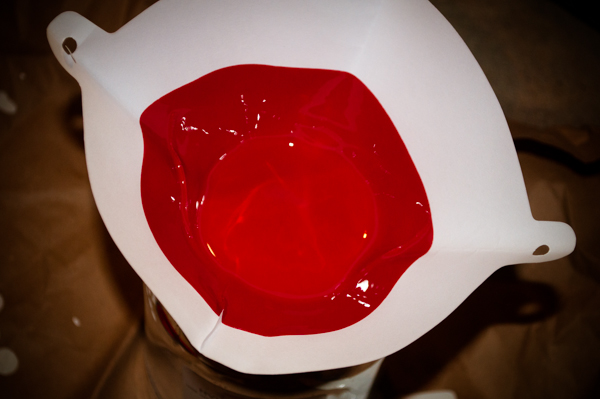
- Paint
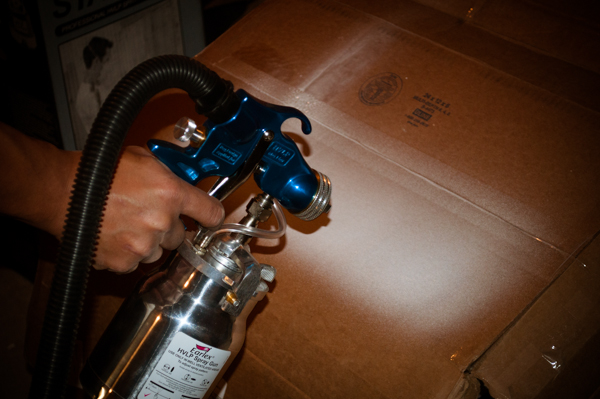
- Paint Sprayer (Optional but highly recommended) or paint brushes
- 24-48 hours
How To Do It:
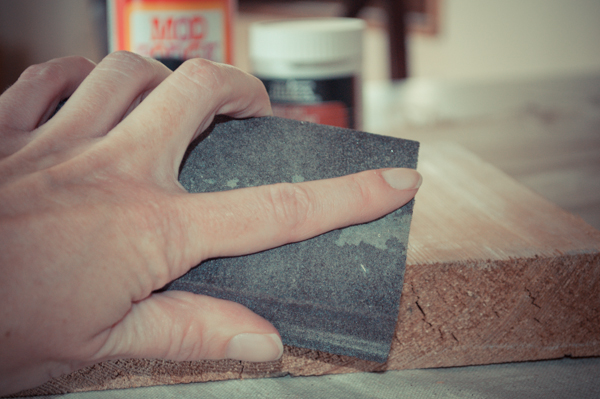
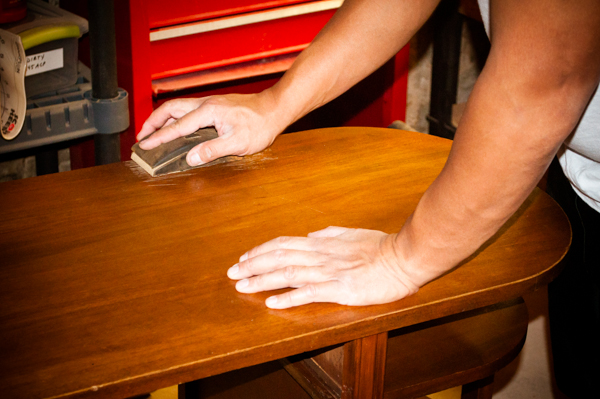
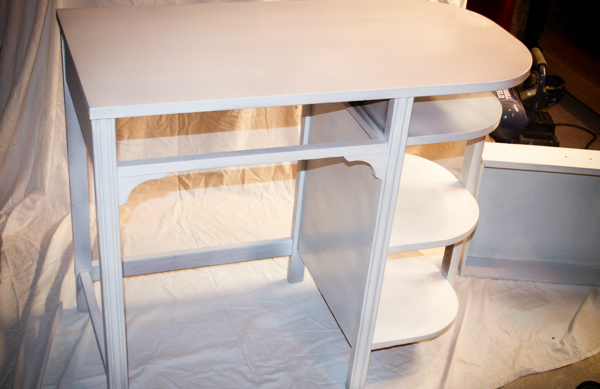
- Rough up the furniture piece with sandpaper.
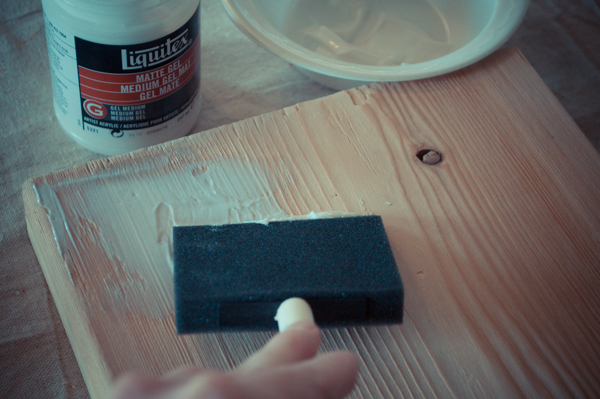
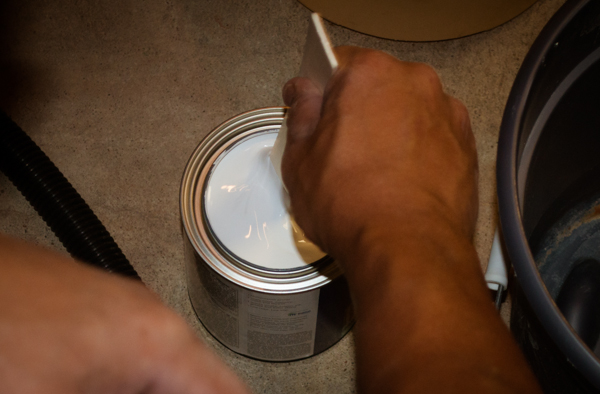
- Using a paint sprayer or paint brushes apply 1 primer coat. If using a paint sprayer make sure to do a test strip first. We used cardboard to get the flow & coverage desired. Follow paint directions on dry time.
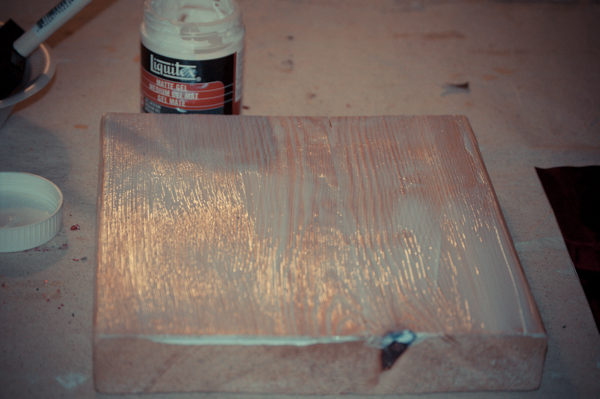
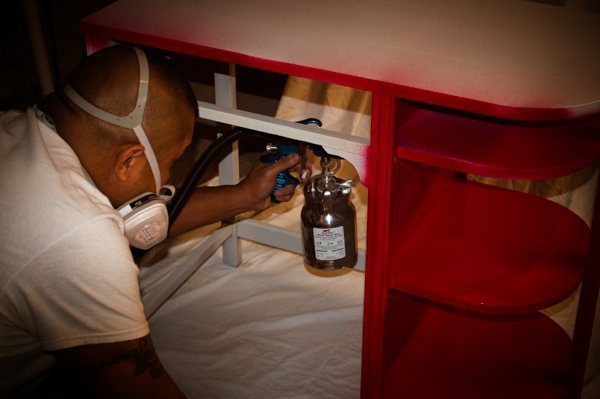
- Apply 1st & 2nd coats of paint. Again following the paint can directions for between coat dry times.
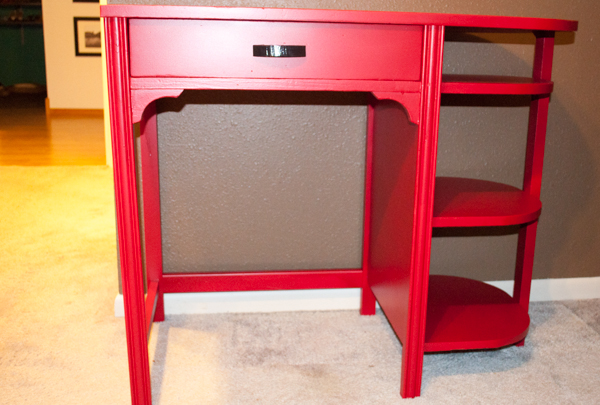
- Since we were using red paint, we ended up doing 3 total coats of color. Red can be hard to get even so we played it safe and coated another time.
- Let dry for 24-48 hours before using and decorating.
Below are pictures of the entire process!